Creating 'Too long outside geozone' alerts
Create an alert to get notified when an asset remains for too long outside a geozone.
This tasks explains how to create a too long outside geozone alert.
Procedure
-
Go to Admin → Insights → Alert rules and select
 .
.
- Select the Rotation alert Too long outside Geozone
-
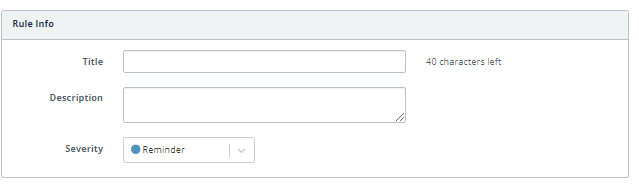
Enter a title (name) for the alert rule you create.
Note: The title is shown to all users receiving the alert notification and consulting the dashboard. Define clear and meaningful alert titles.
-
Write down a description of the alert rule (optional).
Note: Although optional, it is recommended to use the description to provide more information the end-users in order to ensure they understand the meaning of the alert rule.
-
Select the severity level of the alert. Some alerts are more severe then
others. You can choose between 'reminder', 'warning' and 'critical'.
-
Monitored assets defines the assets on which the alert rule will be
evaluated. You can select these assets by identifier (name, serial, MAC, IMEI),
by tag, or include all assets (all).

-
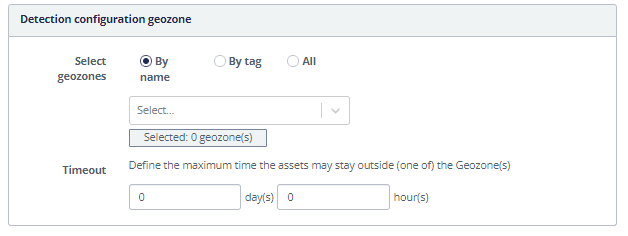
Select the geozones and define the timeout period. This is the maximum time an
asset may stay outside of the geozones before an alert is raised. Enter the
number of days and hours.
-
Define the application time of the alert rule. Should it Always
monitor your assets on any day at any time or do you want it only to be
monitoring your assets on certain days? For the second option, select
‘Scheduled’. Here you can select on which days, during what hours. By
clicking the
 button you can
add more time periods. To exclude specific days, enable the Exclude specific
dates check-box and choose the dates on which the monitoring should be
disabled. Clicking the button
to add multiple exclusion dates. Additionally, you must define the time zone the
platform should use for evaluating the alert schedule. By default the time zone
of the current user is selected.
button you can
add more time periods. To exclude specific days, enable the Exclude specific
dates check-box and choose the dates on which the monitoring should be
disabled. Clicking the button
to add multiple exclusion dates. Additionally, you must define the time zone the
platform should use for evaluating the alert schedule. By default the time zone
of the current user is selected.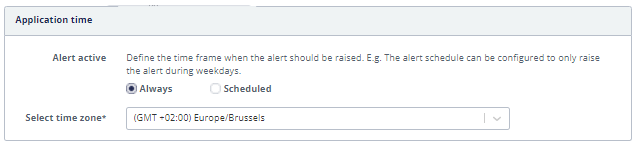
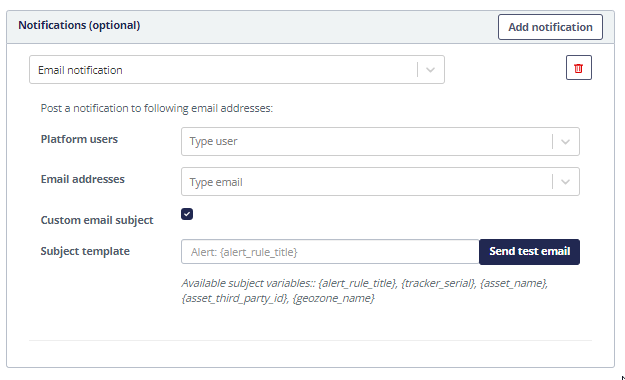
- If you want to receive an email or REST notification if the alert is raised do as following
- By default, triggered alerts are only shown in the application. To enable the sending of notifications, click the Add notification button.
-
To enable Email notifications, choose 'Email notification' in the drop-down
list and complete the following fields:
-
Click the
 button.
The alert rule is immediately active. If alerts are detected, this may result in the immediate sending of the notification emails.
button.
The alert rule is immediately active. If alerts are detected, this may result in the immediate sending of the notification emails.
-
Click the