Testing MQTT webhooks with Azure IoTHub
This section gives a step-by-step explanation on how to configure an MQTT connection to the Microsoft Azure IoT Hub.
More information on the Azure IoT hub can be found here: https://azure.microsoft.com/en-us/services/iot-hub/
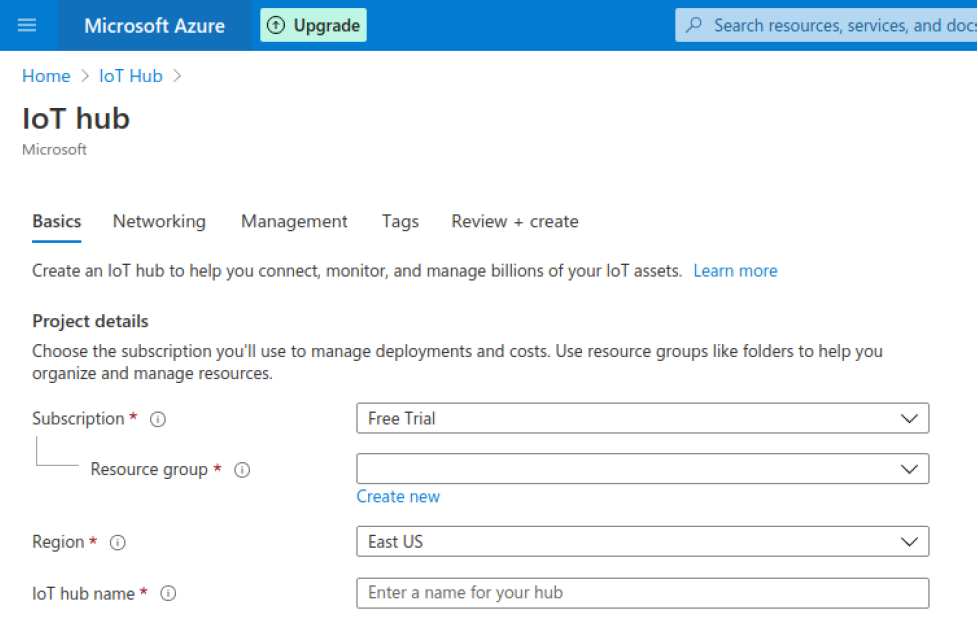
The first step is to create an IoT hub from the Azure portal:
Look for IoT hub in the services list or enter IoT hub in the search area.
Create an IoT hub
You may start with a trial subscription.
Just pick a name and region and create a new resource group
Then you should see the following overview page: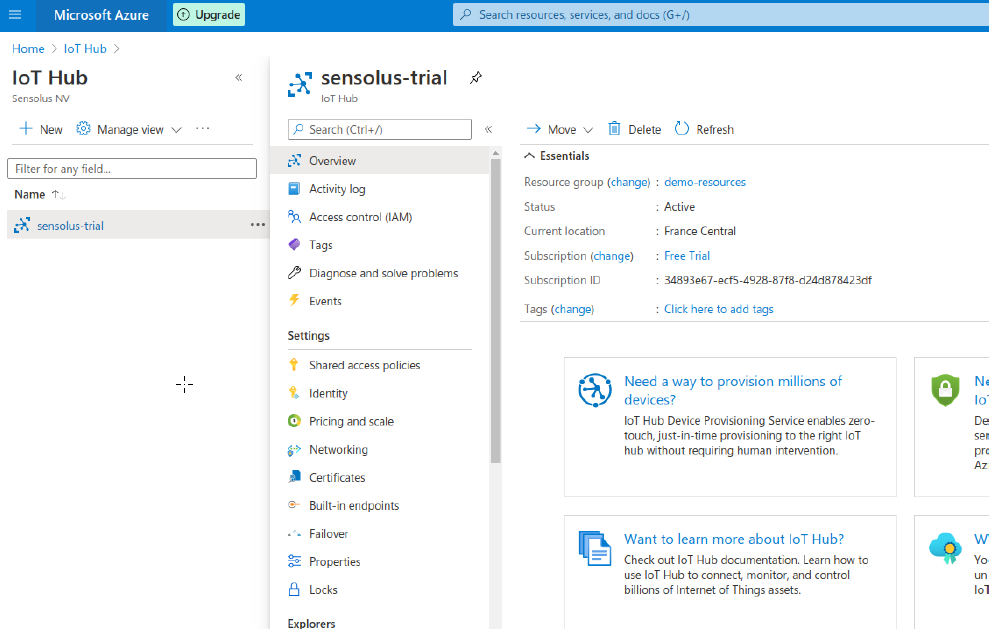
Add a X509 certificate
To safely connect the Sensolus platform to the IoT hub we will make use of mutual SSL
authentication. For this reason you have to add a certificate to your IoT hub.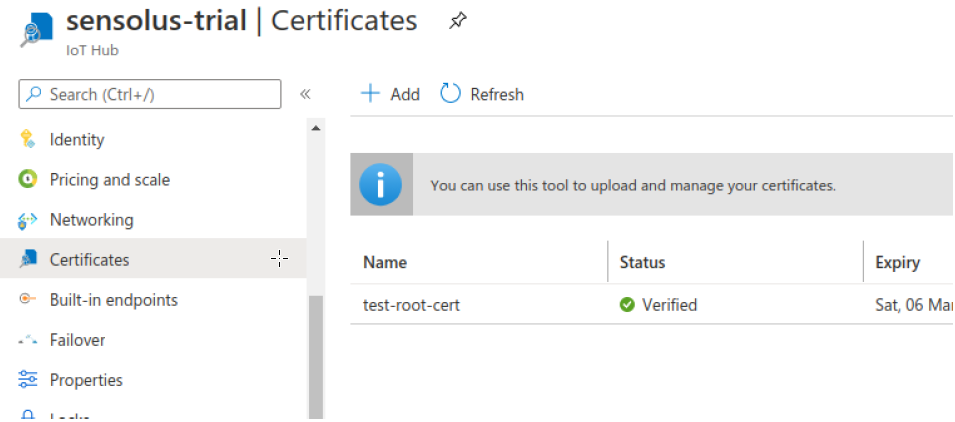
You will have to add a root certificate and also prove that you own it. You can purchase a certificate with a certificate authority but you can also use a self-signed certificate (after all, this is only meant for internal communication).
A nice description and some useful tools such as bash scripts are provided here:
https://github.com/Azure/azure-iot-sdk-c/blob/master/tools/CACertificates/CACertificateOverview.md
Create your device
Create a leaf device (edge device are special devices with custom firmware.
Select the option to authenticate through a CA certificate
Enable connection to IoT hub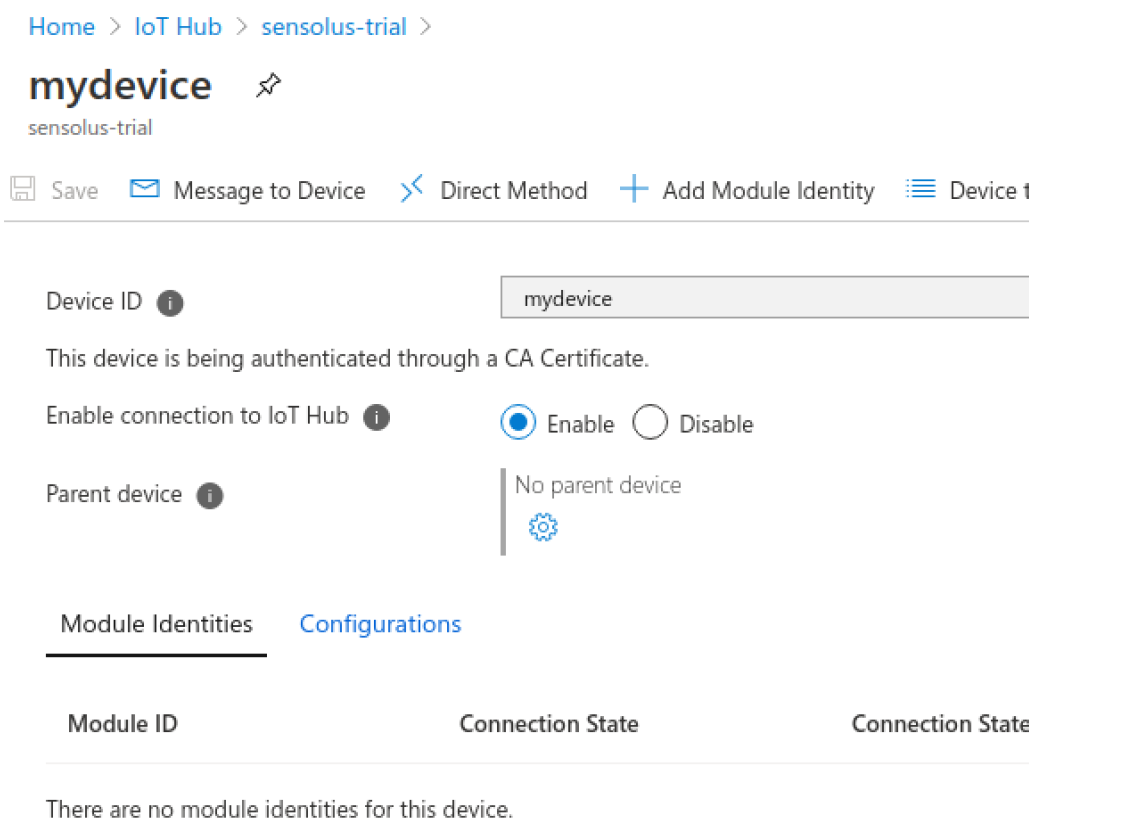
Sesolus MQTT configuration
Next fill in the MQTT settings in the Sensolus Web applications (see also: create or edit a webhook)
The MQTT settings are as following:
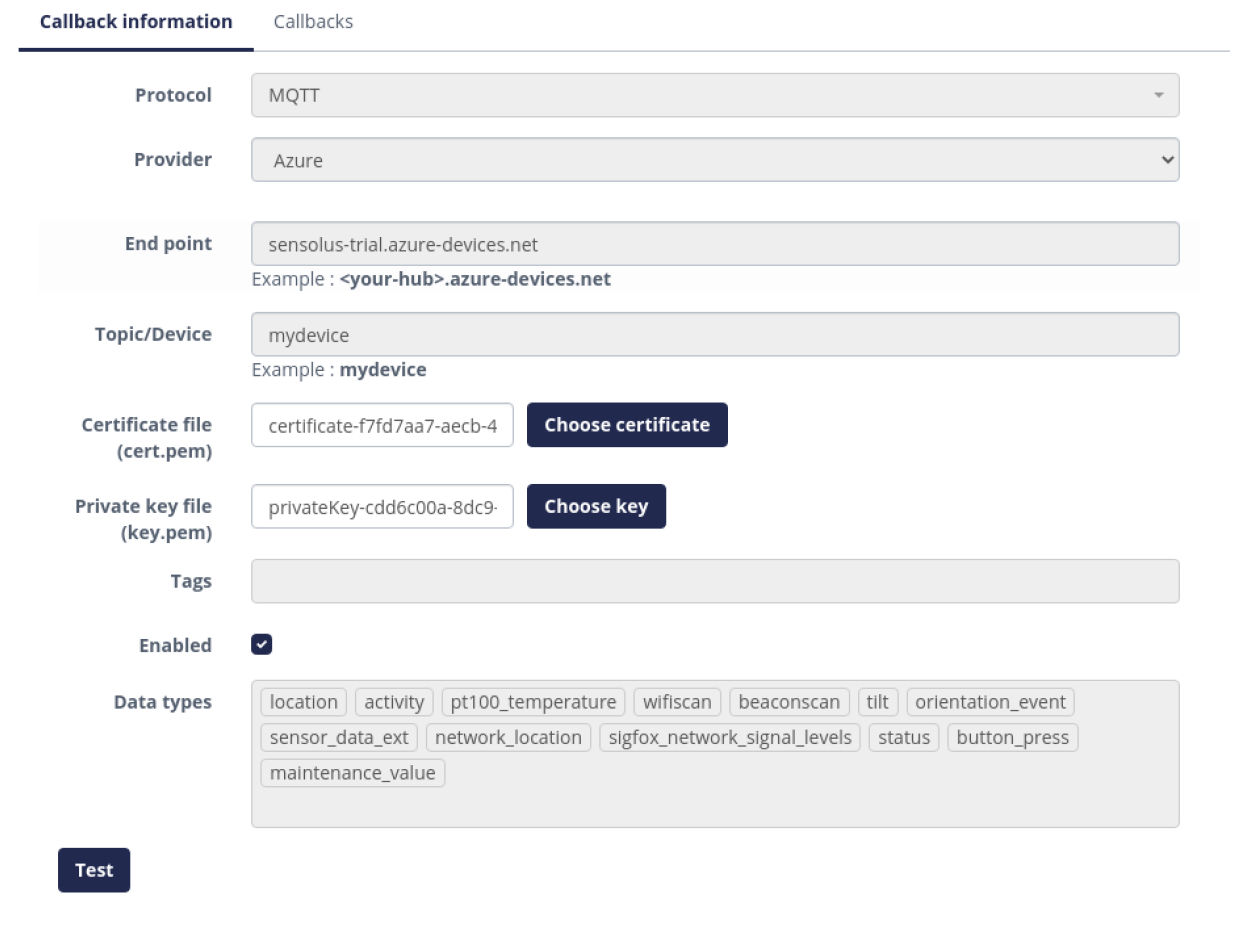
| Protocol | Select the protocol: MQTT |
| Provider | Select the provider: the IoT hub provider: Microsoft Azure |
| End point | The endpoint is the name of your hub followed by .azure-devices.net |
| Topic/Device | Device is the name of your device |
| Certificate file | The certification file should be a pem file with the certificate. It can be
found in the cert folder as <device>.cert.pemhttps://learn.microsoft.com/en-us/azure/iot-hub/iot-hub-x509ca-overview. The content loooks like this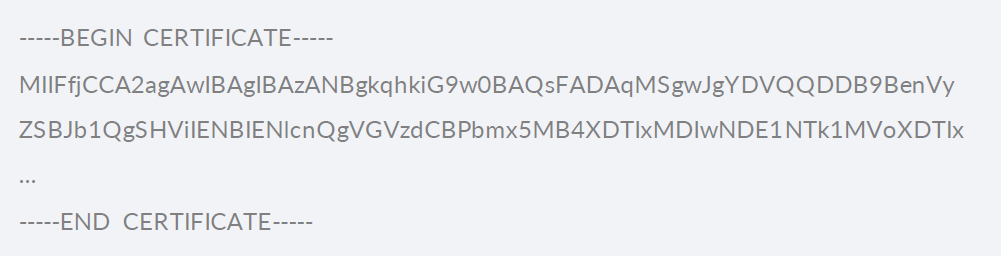 |
| Private key file | The private key file should be a pem file with the private key. It can be found
in the private folder as <device>.key.pem if you use the Azure tools. Content
looks like this: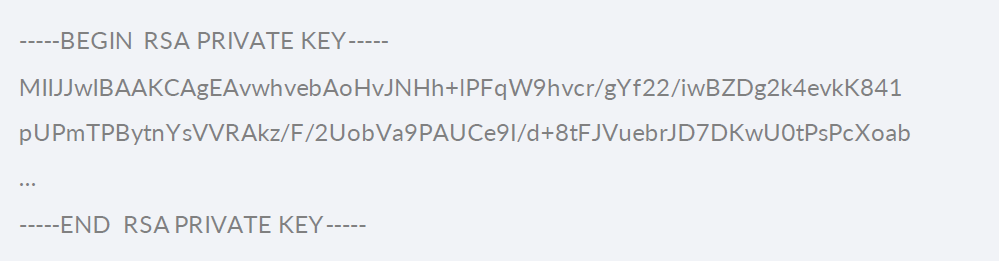 |
| Tags | Add a list of device tags. If not empty, only messages for tagged devices will be sent |
| Enabled | enable or disable webhook |
| Data types | Select the data type out of the list. |
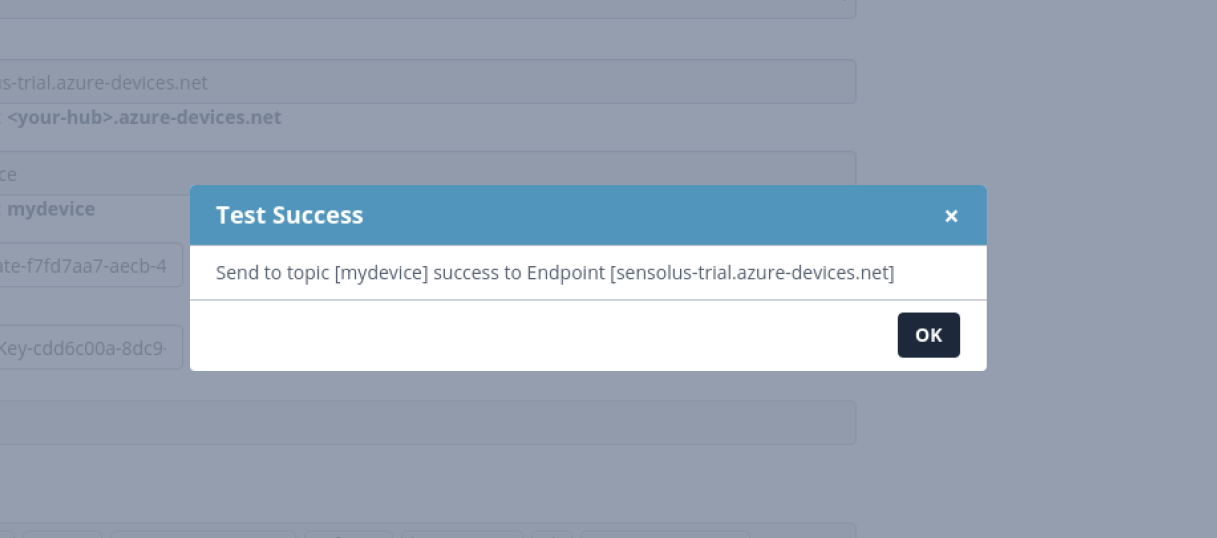
After clicking Test the following screen should appear:
Once you send messages into IoT Hub, you can consume them on the Event Hub-compatible endpoint of the IoT Hub (https://docs.microsoft.com/en-us/azure/iot-hub/iot-hub-devguide-messages-d2c#routing-endpoints).
If you need the data in a "real" Event Hub, you can use routing to forward the messages from the IoT Hub into an Event Hub. You can also route messages to a datastore, of course. Please consult the IoT hub documentation.